This article describes all the basic aspects of integrating Web3 into your Qbix project. To just see the actionable overview, skip to the section entitled Putting it All Together.
Users plugin
The Users plugin treats Web3 as an external platform, just as it does with Facebook or Telegram. The users_external_to and users_external_from database tables map userIds to and from xids which are called “external IDs” in Qbix. In Web3, an xid has the form of a 160-bit hexadecimal number, like 0x12b...ac3.
The usual Q.Users.login({using: "web3"}) and Q.Users.authenticate('web3') take care of all the details of authentication and sessions, the same way they do with any other external platform. The platform, and appId respectively become web3 and the chainId (e.g. 0x4) to read/write to.
Users sign with the same private key regardless of which chain the transaction will be posted on, their xid on the web3 platform is actually the same regardless of the appId (i.e. chain ID). Because of this, the appIdForAuth in web3 happens to be all, which you can see reflected in the database tables.
Scroll to the end of this article to see how to configure your app with your own credentials for Web3 providers on the internet.
Factories and Instances
Web3 has made it relatively easy for anyone to develop their own smart contracts, and this has led to a proliferation of meme tokens and other “crap” that people end up investing valuable assets into. Any custom smart contract could have been modified in subtle ways, such as inserting code on line 518 that says “on some date in the future, start diverting everyone’s funds to my account”. This has contributed to the “wild west” feeling of smart contracts where “rug pulls”, bugs and and back doors are considered an “unvoidable” part of engaging int he ecosystem.
But it doesn’t have to be this way at all! The answer is to build an ecosystem of smart contracts that are produced by factories, which are themselves smart contracts that simply clone a code template, and set some parameters. Then, these factories can be audited by companies like CertiK and ConsenSys Diligence. They can also be battle-tested by real-world usage. This is the actual reason millions of people now trust UniSwap, Aave, and other “DeFi protocols” – they know that every instance produced has the same code, and that trust enables a lot of value to be invested, stored and exchanged over those smart contracts.
Smart contract factories typically have a single fixed address on each blockchain, while instances may have various addresses. In Qbix, the factory addresses are stored in the following config structure. As you can see, some factories even have the same fixed address on all blockchains:
"Users": {
	"web3": {
		"contracts": {
			"Assets/templates/R1/NFT/factory": {
				"all": "0x22222e0849704b754be0a372ffcdb9b22e4d7147"
			},
			"Assets/templates/R1/NFT/sales/factory": {
				"0x1": "0xa2435909a2aab068ce4bf3b4d6707e29ee9867c2",/* ethereum main */
				"0x89": "0xb5c7D6712B45FF2d7095059aC3A08E881B221be1", /* matic main */
				"0x38": "0x90746004d3571F396B477d2fa3C115A5EAF62815", /* binance main */
				"0x13881": "0x4B1619Ec9DA4191AcD5429A89d6ee991a13079c3" /* matic test mumbai*/
			},
			"Assets/templates/R1/NFT/locked": {
				"0x89": "0x37b5AcF3A60dC507a689F700d89dB669bEe0dec3",
				"0x13881": "0x6c24d7E534907D53565EE18AFDbb2e001F20e4C2"
			}
		}
	}
}
Smart Contracts For Communities
If you want to use a set of powerful smart contracts, that do what Qbix does but on Web3, then you’ll be happy to know that they’re freely available. In 2017, we spun off a company called Intercoin, which has been building smart contracts that can serve entire communities. They can be used to implement Roles, NFTs, Contests, Elections, Governance, and much more. Learn more here:
Increasingly, Qbix is integrating support for these smart contracts directly into its Web2 community platform, leading to Web2 + Web3 = Web5. Let’s now turn to how you would use these smart contracts from Qbix.
Application Binary Interfaces
In order to construct requests to a provider, and read the results received, each smart contract has an ABI file. This is a JSON file with an extension of .abi.json, that is stored and handled like any other view templates. They can be loaded on demand, from either the client or server side, and used by Users methods making requests to Web3 providers.
The Assets plugin provides a lot of common ABIs to interface with various smart contracts on Web3, with names such as:
"Assets/templates/ERC20"     // currencies
"Assets/templates/ERC721"    // NFTs
"Assets/templates/ERC1155"  // multi-token standard
Now that you have the background, let’s look at how to actually interface with the Web3 providers on the back end and front end.
In PHP
On the server side, you’ll be able to make requests to the blockchain by using the Users_Web3 class, which requires PHP 7.4 or higher. You simply call the following function to read data from the blockchains or post transactions to it:
Users::web3::execute(
  $contractABI, // this is the name of a view template
  $contractAddress, $methodName, $params,
  $appId = null, // this is the chain ID or internal app ID
  // whether to use a cache, and how long to cache for:
  $caching = true, $cacheDuration = true,
  // options for timing:
  $defaultBlock = 'latest', $delay = 0,
  // use this to post signed transactions that modify state:
  $transaction = array(), $privateKey = null
There are options to cache the requests for a certain amount of time, so next time a client requests the data, the function will can just look in the users_web3 table in your app’s database.
Under the hood, this makes use of the web3.php library but may in the future switch to another one, like Simple-Web3-PHP.
In Javascript
On the front end, Qbix makes use of several Javascript libraries, including ethers.js, web3.js and WalletConnect. They already implement a ton of functionality, including:
- Posting HTTP requests to JSON-RPC (including batched requests!)
- Subscribing to receive real-time pushed events via WebSocket
As a Qbix “dapp developer” who is turning your web app into a Web2 + Web3 = Web5 dapp, you’d be making use of the following methods of Q.Users.Web3, which return promises:
// interfacing with a wallet (browser extension or app)
.connect()
.switchChain(chainId)

// ways to get an ethers.Contract to call methods on:
.getFactory(ABIName, chainId)
.getContract(ABIName, contractAddress)

// read-only versions, no need to connect to a wallet:
.getFactory(ABIName, {chainId: chainId, readOnly: true})
.getContract(ABIName, {
   chainId: "0x4",
   contractAddress: "0x123...9af",
   readOnly: true
})

// or if you want to do a one-liner:
.execute(ABIName, contractAddress, methodName, params)
In read-only mode, contract methods are transparently batched together with ethers.providers.JsonRpcBatchProvider which results in much fewer HTTP requests and somewhat faster results.
Here is an example of how you would use the above interface:
Q.Assets.NFT.Web3.Sales.getFactory: function (chainId) {
	return Users.Web3.getFactory(
		'Assets/templates/R1/NFT/sales/factory',
		chainId
	);
}
then elsewhere in the code, you can use it:
Q.Assets.NFT.Web3.Sales.getFactory()
.then(factory => factory.produce(params));
// this is where the user is prompted to sign
// and post the transaction to the blockchain
Here is a more complex example, using an overloaded contract method and options:
var methodName = "produce(string,string,string,string,string)";
var options = { value: price.price, gasLimit: 10000000 };
Q.Assets.NFT.Web3.Sales.getFactory()
.then(factory => factory[methodName](params, options))
.then(transaction => transaction.wait(2, "MyApp.onTxSuccess"))
.then(receipt => showSuccess());
Persistence on the Client Side
If a user closes their browser window before a promise resolves, the subsequent code wouldn’t run. Next time they open the same site in their browser, the transaction is likely to have already been mined.
This is why Qbix adds the following function to TransactionRequest.prototype
.wait(blocks, globalFunctionReference) // still returns promise
This function will do wait(blocks) but also additionally store the transaction hash in localStorage, until the promise resolves. If the page is unloaded before the promise resolves, the transaction hash should still be in localStorage the next time the site loads.
When a page loads the next time, the Users plugin checks in localStorage for any transaction hashes you were waiting for before. For each such transaction, it then calls the function or Q.Event named in globalFunctionReference and passes it the transaction info. At that point, the transaction may have succeeded, was reverted, or never mined because the gas limit was too low.
Due to ITP capping lifetimes of script-writable storage to 7 days we may switch to using a beacon to save the transaction hash on the server until the next page load, or until the promise resolves.
Pull vs Push
The ethers.js library also provides a way to receive real-time callbacks in Javascript whenever events occur. You can listen for any ethereum events on any smart contract, and filter by indexed topics. Here is the full documentation.
This can be useful for learning, for example, when a token transfer occurred in your smart contract, or tokens were received by your wallet address, even if the transaction was posted by someone using a browser on a completely different computer, or wallet on a completely different phone.
Configuration
In your local/app.json config, you will find the following structure. Fill it in with your own credentials at the Web3 providers. For users to sign things on the front end, you can use WalletConnect or FortMatic, etc.
"Users": {
	"apps": {
		"platforms": ["ios", "android", "facebook", "web3"],
		"export": ["facebook", "web3", "chrome", "firefox"],
		"defaultApps": {
			"web3": "MyApp-MATIC"
		},
		"web3": {
			"MyApp": { /* internal name */
				"appId": "0x1",
				"providers": {
					"walletconnect": {
						"infura": {
							"projectId": "23...69"
						}
					},
					"fortmatic": {
						"key": "pk_test_..81"
					},
					"portis": {
						"id": "47..19"
					}
				},
				"rpcUrl": "https://mainnet.infura.io/v3/{{infuraId}}"
			},
			"MyApp-MATIC": { /* internal name */
				"appId": "0x89",
				"providers": {
						"walletconnect": {
								"infura": {
										"projectId": "23..69"
								}
						}
				},
				"rpcUrl": "https://polygon-rpc.com",
				"default": true
			}
		},
By default, the plugins/Users/config/plugin.json file has the following config:
"Users": {
  "web": {
    "*": {
      "appIdForAuth": "all
    }
  },
  "login": {
    "using": "native,web3,facebook",
  }
}
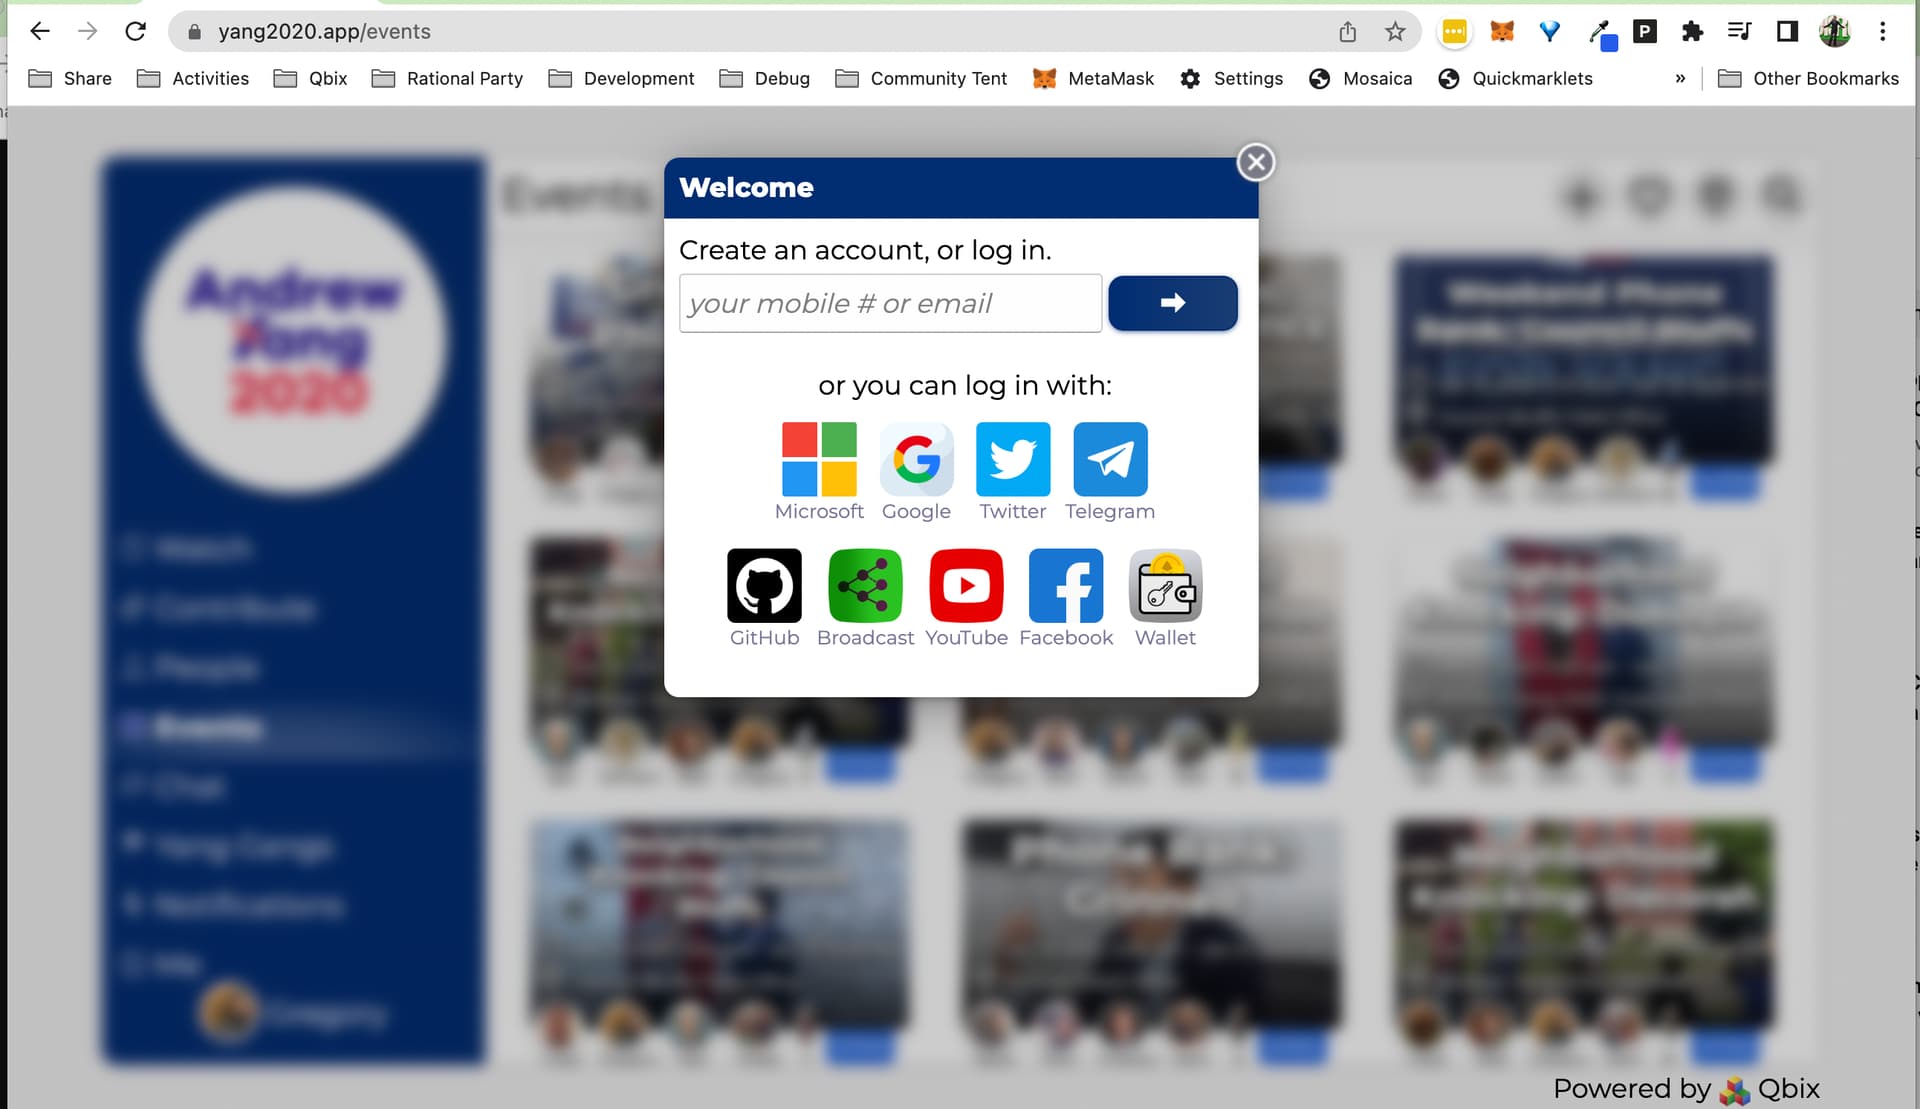
That’s why calling Users.login() lets a user log in with external platforms like web3 and facebook, as you see here:

Putting it All Together
Make the Pages
Here is how you would go about integrating Web3 in your project. First, set up your configuration as shown above. Then, you’ll create some routes and pages in your app:
{
  "Q": {
    "routes": {
       "sales/factory": {
          "Module": "MyApp", "action": "sales", "factory": 1,
       },
       "sales/:contractAddress": {
          "Module": "MyApp", "action": "sales"
       }
    }
  }
}
and implement handlers for them, such as
MyApp/handlers/MyApp/sales/response/content.php:

<?php

function MyApp_handlers_MyApp_sales_response_content()
{
   $uri = Q_Dispatcher::uri();
   if ($uri->factory) {
      return Q::view("MyApp/content/sales/factory.php");
   }
   Q_Valid::requireFields(['contractAddress'], $uri, true);
   $factoryOptions = Q::take($uri, ['contactAddress']);
   return Q::view("MyApp/content/sales/instance.php", compact(
      'factoryOptions'
   ));
}

MyApp/views/MyApp/content/sales/factory.php:

<div id="content">
  <?= Q::tool('Assets/NFT/sales/factory', $factoryOptions) ?>
</div>
Unless you’re developing your own tools, you’re done. The tools and framework will do the rest. They’ll find the default chain ID from your config, load the factory addresses from Users/web3/contracts config, and do their thing.
Make the Tools
But if you want to build functionality that hasn’t been implemented yet, you can start designing your reusable tools, that can be used across many apps and pages. You should start by making a fully-working Javascript version. First, define the tool info in MyModule.js:
Q.Tool.define({
  "MyModule/sales/factory": {
    js: "{{MyModule}}/css/tools/sales/factory.js"
    css: "{{MyModule}}/css/tools/sales/factory.css"
    text: "MyModule/content"
  },
  "MyModule/sales/instance": {
    js: "{{MyModule}}/css/tools/sales/instance.js"
    css: "{{MyModule}}/css/tools/sales/instance.css"
    text: "MyModule/content"
  }
);
Then, in the factory.js file, you would do:
/**
 * Document your tool here
 * @param {String} tokenId required
 * @param {string} contractAddress required
 * @param {string} [chainId] optionally override chainId
 * @param {Q.Event} onRefresh
 */
Q.Tool.define('MyModule/sales/instance', function () {
    if (!state.contractAddress || !state.tokenId) {
      return console.warn("Missing required options", state);
    }

    this.refresh();

    // listen to some events
    const provider = Q.Users.Web3.batchProvider(state.chainId);
    filter = {
        address: state.contractAddress,
        topics: [
            utils.id("Transfer(address,address,uint256)")
        ]
    }
    provider.on(filter, (log, event) => {
        // do something in real-time during a transfer
    });
}, {
    chainId: null,
    contractAddress: null,
    tokenId: null,
    onRefresh: new Q.Event()
}, {
  refresh: async function () {
     const state = this.state;

     // set up objects we will use
     const contractOptions = {
        contractAddress: state.contractAddress,
        readOnly: true
     };
     if (state.chainId) {
       contractOptions.chainId = state.chainId;
     }
     const contract = await Q.Users.Web3.getContract(
       'MyModule/templates/R1/sales/instance',
       contractOptions
     );

     // start requesting info from blockchain provider
     // request is possibly batched with other tools
     const owner = contract.ownerOf(tokenId);
     const tokenURI = contract.tokenURI(tokenId);

     // now request info from our own server and DB
     state.metadata = await MyModule.NFT.getMetadata(tokenURI);

     // finally, render the tool
     const html = await Q.Template.render(state);
     this.element.innerHTML = html;

     // save some references elements and data
     this.$foo = this.$('.MyModule_sales_factory_foo');

     Q.handle(this.state.onRefresh, this, [metadata]);
  }
}
);
Q.Template.set('MyModule/sales/instance/container', `
   <img src="{{metadata.src}}">
   <div class="MyModule_sales_factory_title">
     {{metadata.title}}
   </div>
   <div class="MyModule_sales_factory_description">
     {{metadata.description}}
   </div>
   <select class="MyModule_sales_factory_foo">
     <option disabled="disabled">{{select.Prompt}}</option>
     {{#each foo}}
        <option value="@key">{{this.name}}</option>
     {{/each}}
   </select>
`);
Implement the batch getter
MyModule.NFT.getMetadata = Q.getter(Q.batcher.factory(...));
Implement it on the PHP side:
MyModule/handlers/MyModule/batch/response/batch.php:

<?php
function MyModule_batch_response_batch () {
   Q_Request::requireFields(['batch'], true);
   $batch = Q::json_decode($_REQUEST['batch'], true);

   $tokenIds = array();
   foreach ($batch['args'] as $args) {
      $action = $args[0];
      $slots = $args[1];
      if ($action === 'getMetadata') {
         $tokenIds[] = $args[2];
      }
   }
   $requests = MyModule_NFT::requestsFromTokenIds($tokenIds);
   $results = Q_Utils::requestMulti($requests);
   $returned = array();
   foreach ($results as $result) {
      // build the response
   }
   return $response;
}